
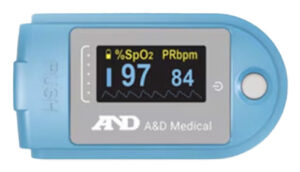
 A&D Pulse Oximeter Device Support
 Adherium Ellipta Hailie Sensor®
 Adherium Symbicort Hailie Sensor®
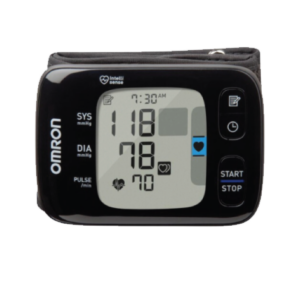 Omron Wrist Blood Pressure Monitor
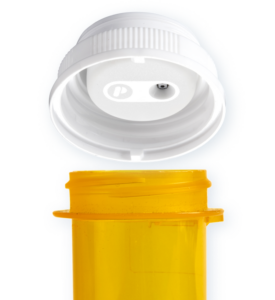 PatchRx PatchCap
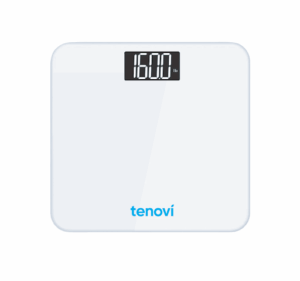 Tenovi Bariatric Scale Device Support
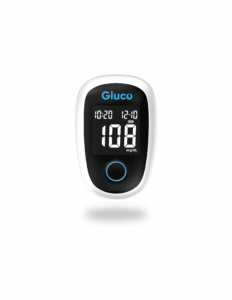
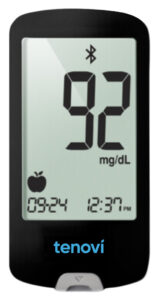 Tenovi Blood Glucose Meter (BGM) Gen 1 Device Support
- Tenovi Blood Glucose Meter (BGM) Gen 2 Device Support
 Tenovi Blood Glucose Meter (BGM) Gen 3 Device Support
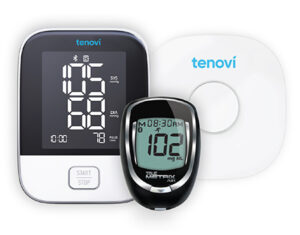
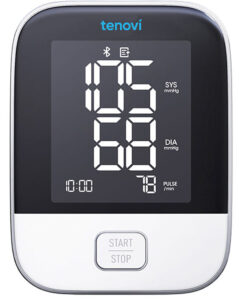 Tenovi Blood Pressure (BPM) Device Support
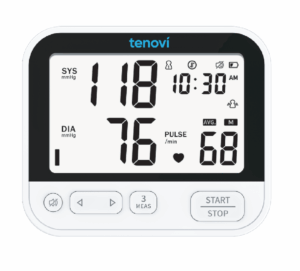 Tenovi Blood Pressure (BPM) Gen 3 Device Support
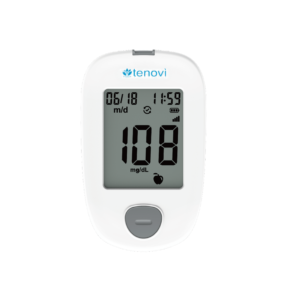 Tenovi Cellular Blood Glucose Meter (BGM) Device Support
 Tenovi Cellular Blood Pressure (BPM) Device Support
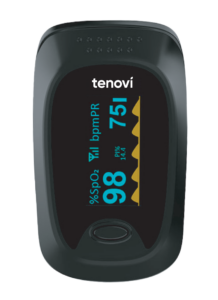 Tenovi Cellular Pulse Oximeter (POx) Device Support
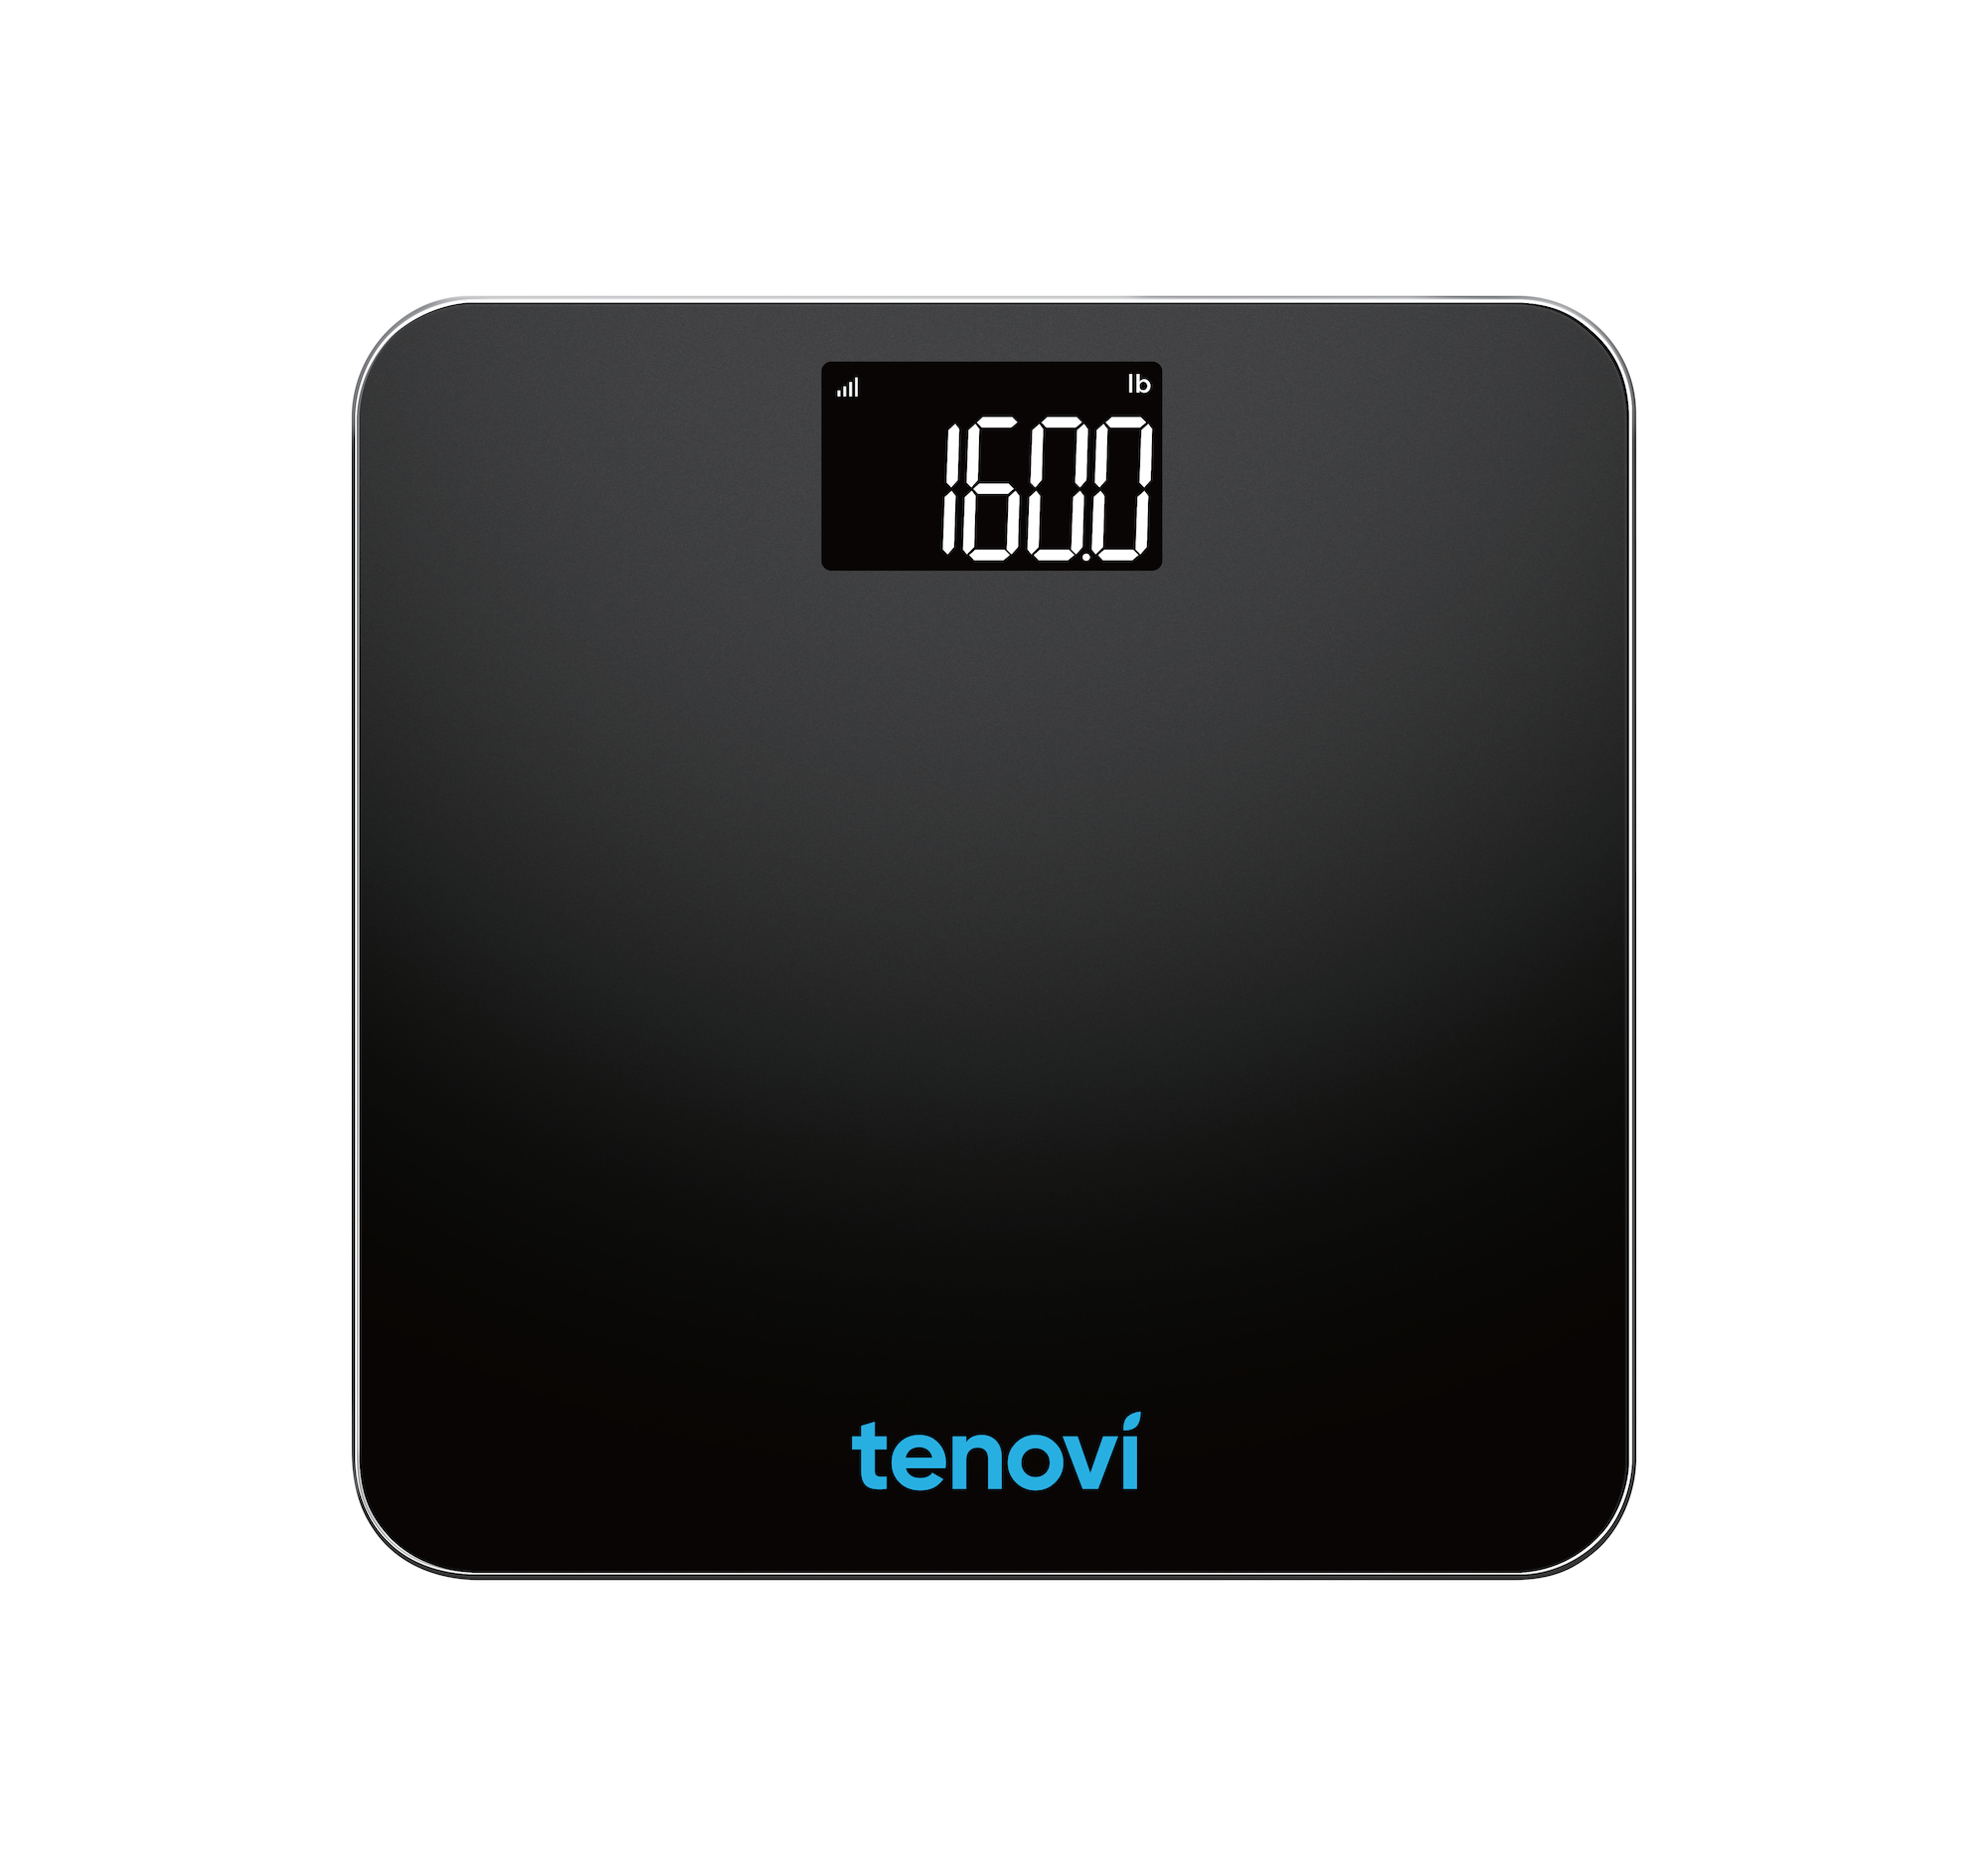 Tenovi Cellular Scale Device Support
 Tenovi Fetal Doppler Device Support
 Tenovi Gateway Gen 2 Support
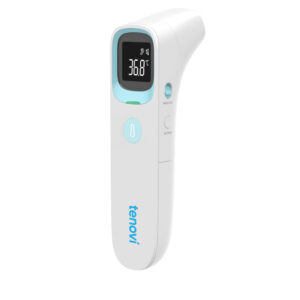 Tenovi Infrared Thermometer Device Support
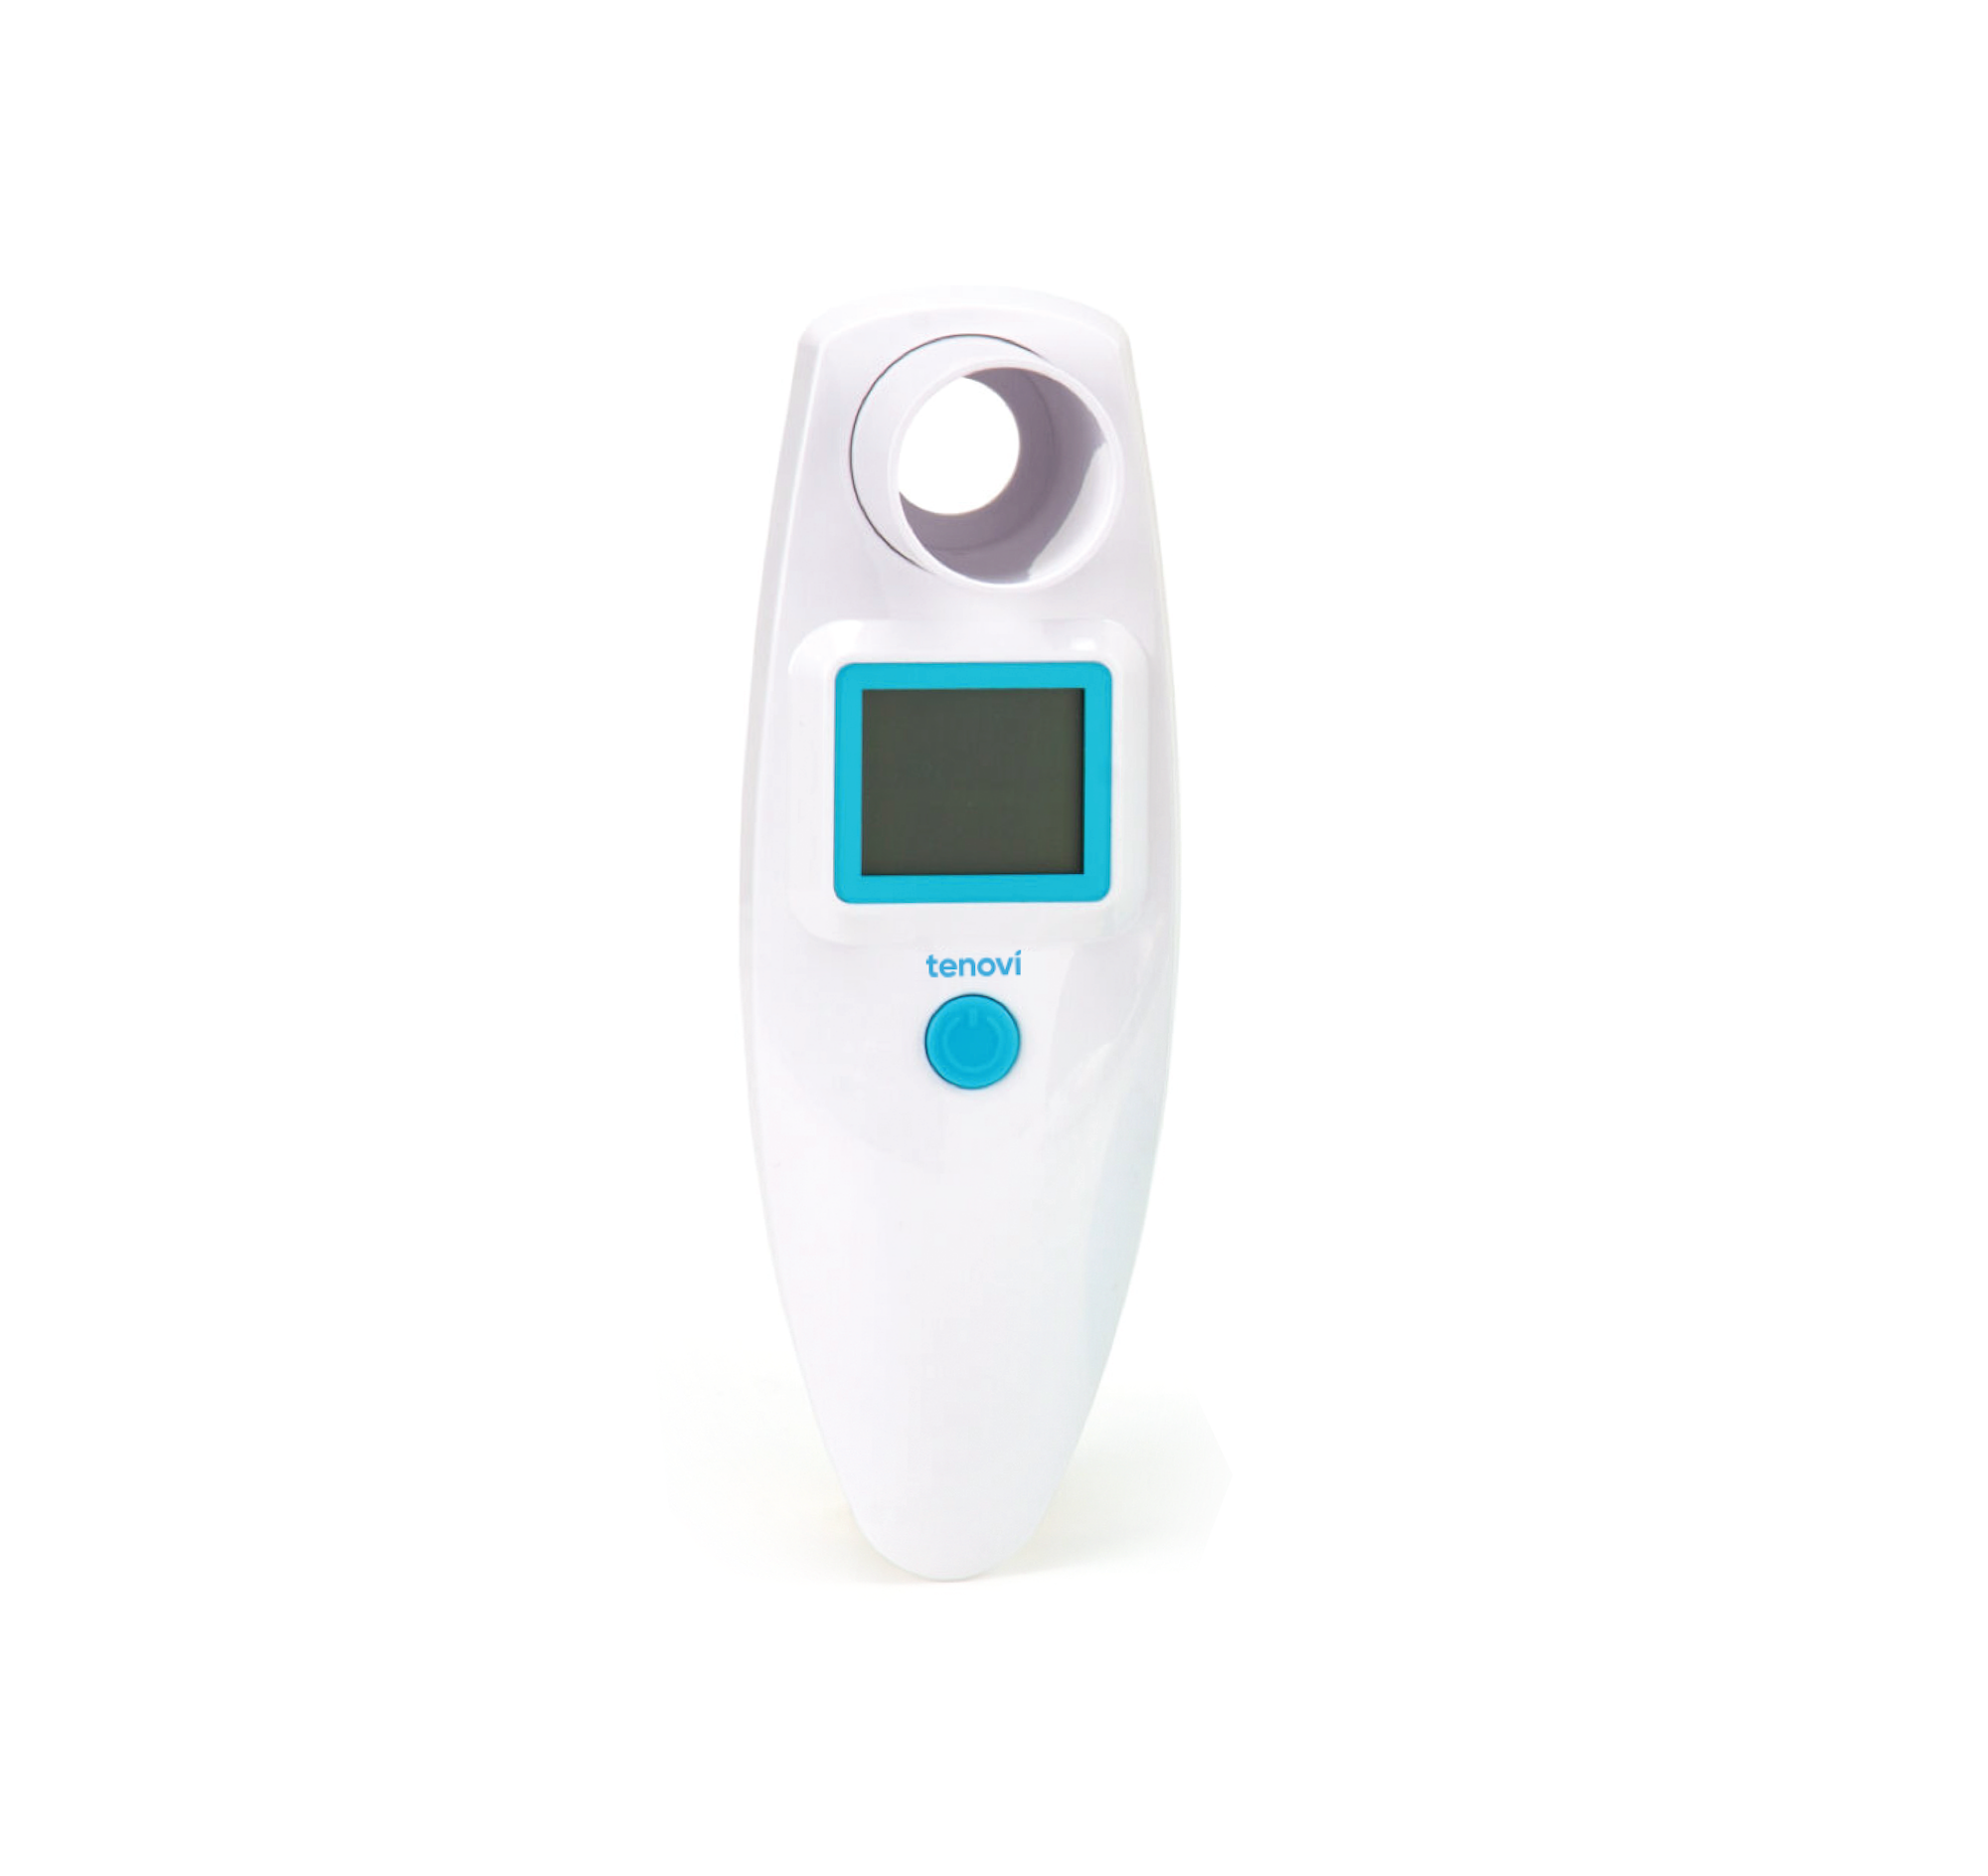 Tenovi Peak Flow Meter Device Support
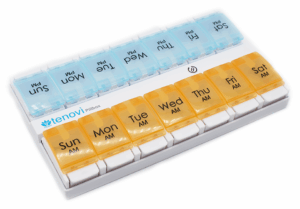 Tenovi Pillbox Device Support
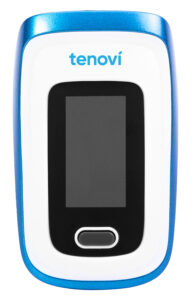 Tenovi Pulse Oximeter (POx) Device Support
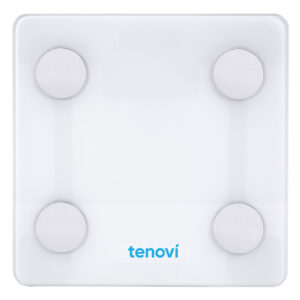 Tenovi Scale Device Support
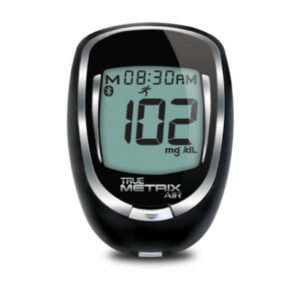 Trividia Blood Glucose Meter (BGM)
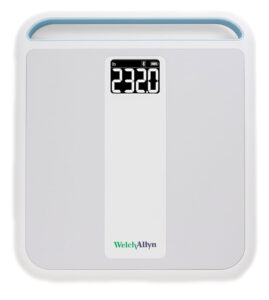 Welch Allyn Home Scale Device Support
 XK300 Essence Device Support